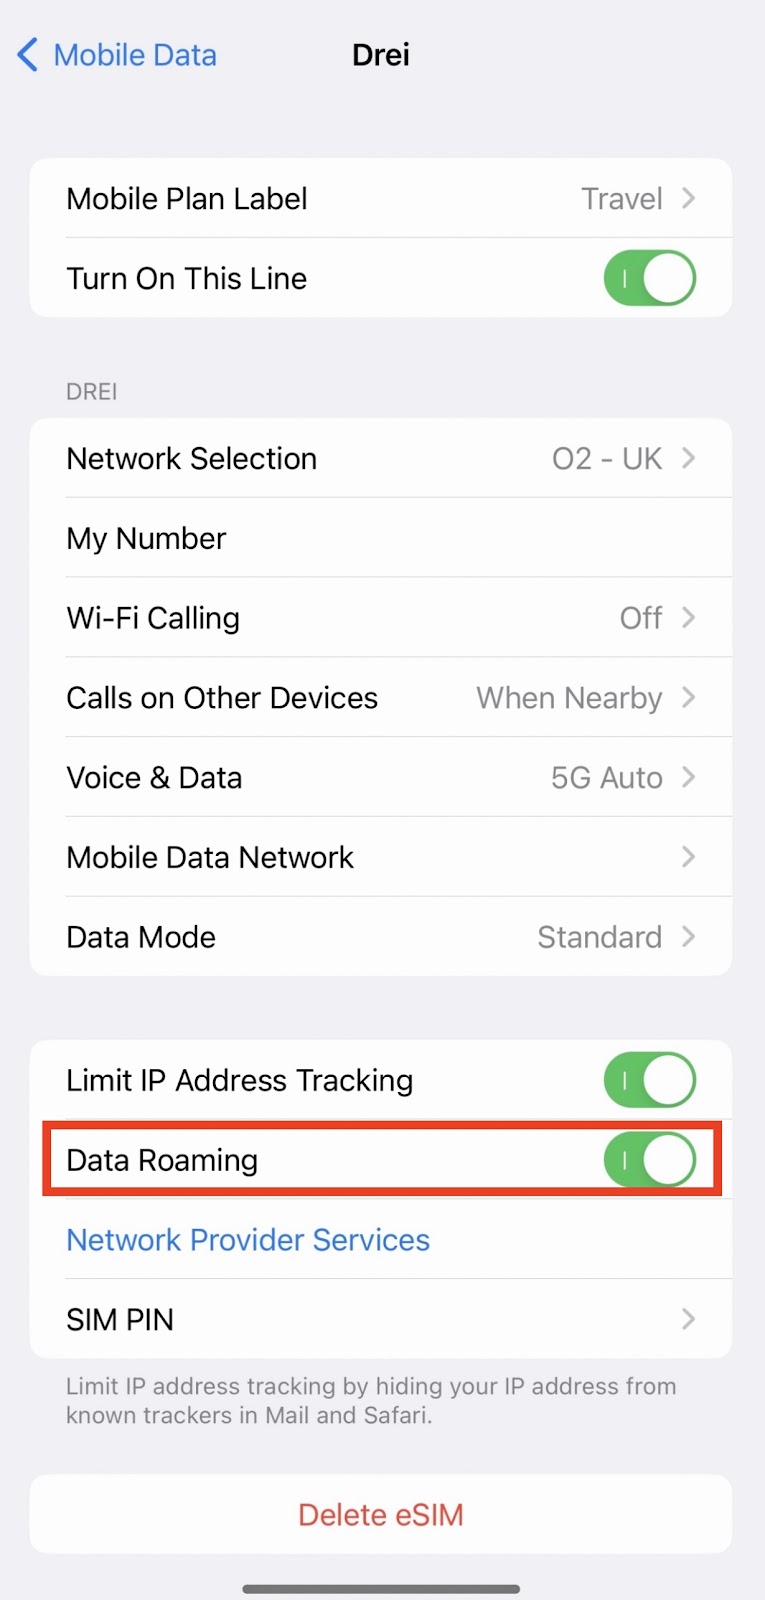
Installation Guide: Go to eSIM Installation Guide
24/7 Whatsapp: +1-555-798-7739
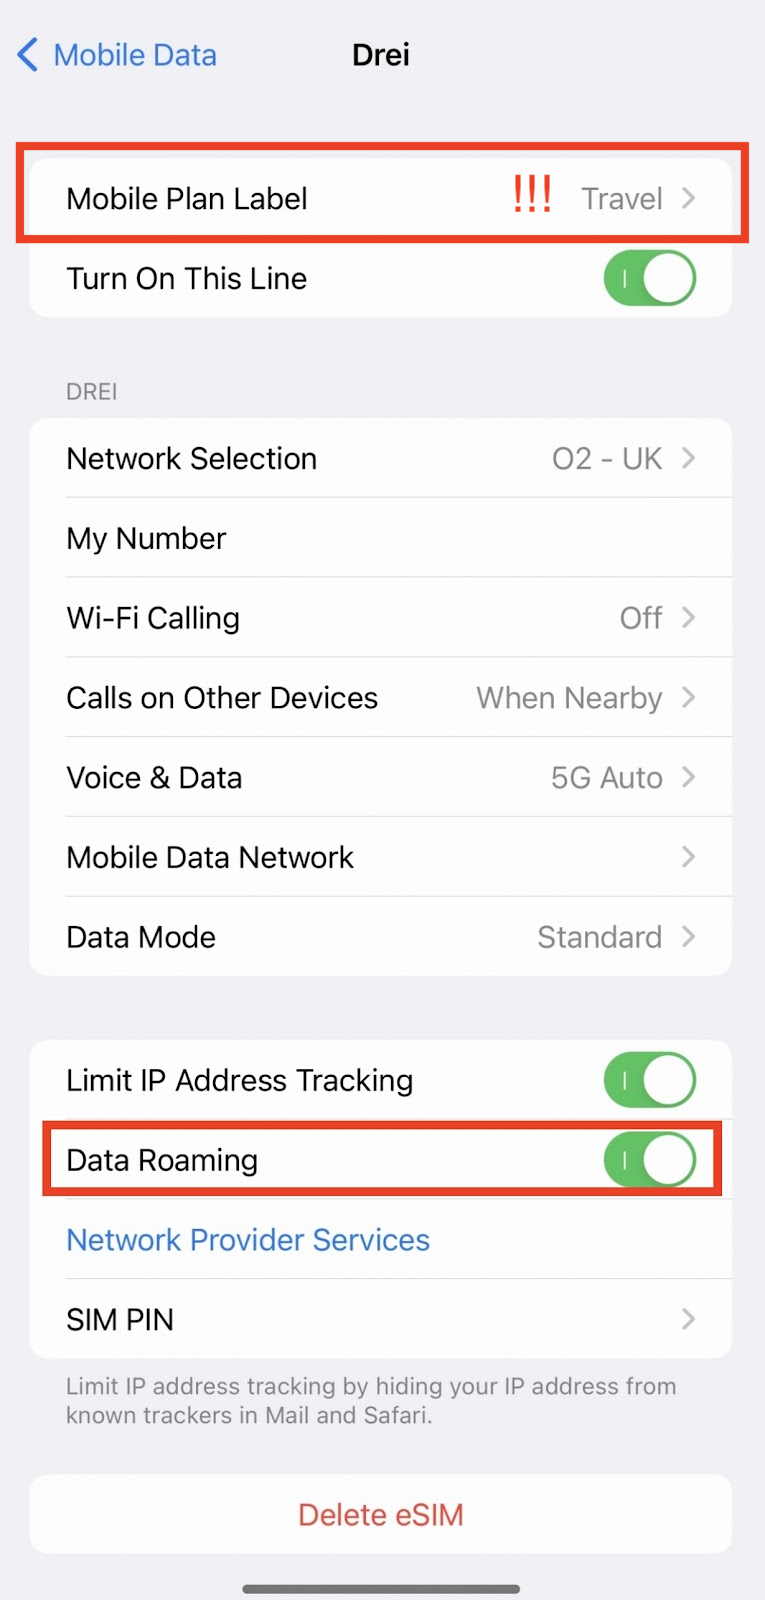
Installation Guide: Go to eSIM Installation Guide